Lets get started using a USB sound card and SAFE together. In this guide I will show you on how to setup your USB sound card in SAFE, make a sound recording, and display that recording. In the guide we will be using the Steinberg UR22mkII sound card, but any sound card will do.
Connect your USB sound card
Before you start you should connect your USB sound card to your computer and ensure that any driver necessary is installed. Usually it will be installed automatically.
If the USB soundcard does support ASIO we strongly recommend that you use ASIO which is also what we will be using in this guide.
Create a blank SAFE project
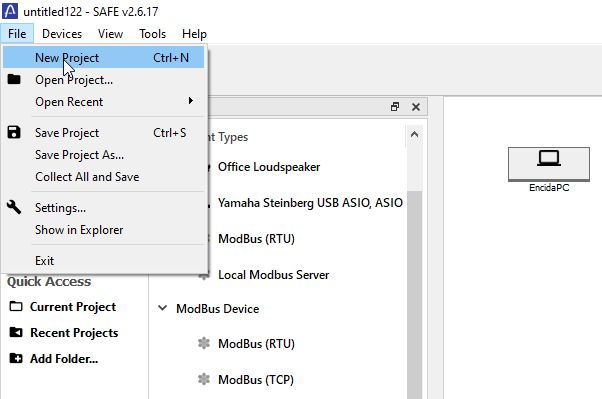
When the USB sound card has been connected, open SAFE and create a new project in the menu under File --> New Project in the top left corner. Then create a blank project.
Configure your USB sound card
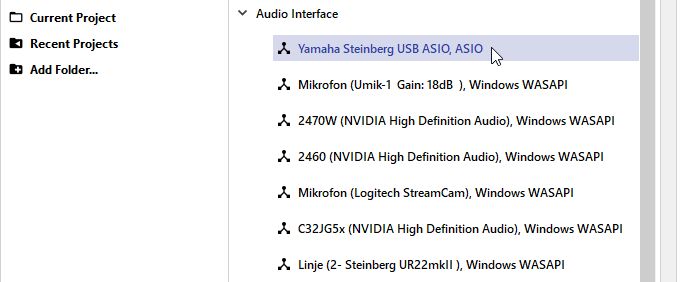
If the USB sound card has been properly connected to the PC you should be able to see it in your Equipment Types under Audio Interface. It will be probably be named along the lines of:
"Manufacturer Name USB ASIO".
When you have found it in the list click and drag it out onto the board, so it appears connected with the PC that already exists on the board.
NOTE: if you do not see the device go into the device menu in the top left and click Update devices.
As you can see the sound card has appeared as a block with two inputs: IN1 and IN2 and two outputs which is the number of IO my sound card has.
In order configure our sound card to record we need to click and drag out a microphone block onto the board. You can find the microphone in Equipment Types under Sensor. When the microphone is on the board click and drag on the output of the microphone and connect it with IN1 on the sound card.

Creating a measurement procedure
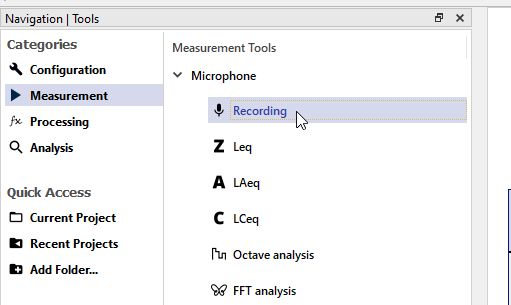
To create a measurement procedure you must go to the the category "Measurement". You do this all the way to the left by clicking on Measurement. Now you can see your empty procedure with a single step. In order for the procedure to do something you must drag in a measurement tool into a step.
Start by opening the Microphone Tool, and click and drag out the "Recording" track into step 1. In Step 1 the recording track will now show and if you make a sound you can see the sound in the real time view.
A step will by default have a measurement time of 5 seconds which you can change by clicking on the step and changing the measurement time in the properties window to the right. You can also drag in multiple tracks or create more steps but we will skip this for now.
Starting a measurement
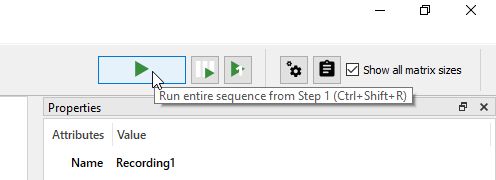
To start a measurement click the big play button in the top right corner and wait until the measurement is done.
1, 2, 3, 4, 5..
You have now performed your first measurement!
Processing data
With a successful measurement you must process the data and show it in the analysis dashboard. To process data you should proceed to the Processing category to the left in the same way you went to the Measurement category. On the Processing board you can see a single block named "Step 1" with and output named "RecordingTrack1". This block contains the data you just measured.

To show this data you need a plot which you can find to the right in Processing Types under Plots. Here click and drag out a "Line Plot" onto the board. With the plot on the board connect a line between the data block and the line plot by click and dragging on the output of the data block.

As you can see to the left in Processing Types there are tons of different processing blocks you can use but we will skip that for now.
Displaying data
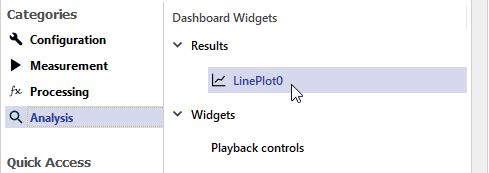
Every block in the Plots type can be used for displaying data in some form. To display data you must go to the last category Analysis all the way to the left. Here the plots appear as results to the left where you should be able to see the "LinePlot0". Click and drag the LinePlot0 out onto the analysis board.
The plot appears but is empty. That is because you must compile the data. You do this by pressing on the compile button which look likes two cogwheels up in the top right corner or press Ctrl + Shift + P. Now your data appears in the plot and you have displayed your first data.

Congratulation you have made it through your first test!